A large microphone on a desk can look like a straightforward upgrade for calls. In use, its position often matters more than its appearance. If it sits behind the keyboard, far from the speaker and beside a noisy fan, it may pick up plenty of sound that nobody in the meeting wants to hear.
Before shopping, find the space where the microphone could remain during an ordinary working session. It should not block the screen, occupy the writing area or require you to lean forward unnaturally. A position that is cleared only for a demonstration is unlikely to survive the next busy morning.
Know which side receives your voice
Different microphones are designed to be addressed from different directions. Some receive speech at the end; others are intended to face the speaker from the side. A familiar shape is not a reliable guide. Read the diagram for the exact model and use its recommended starting distance.
Placing the microphone closer to the voice can improve its relationship to room noise, but excessively close placement can introduce breath noise and other problems. Adjust within the manufacturer's guidance while making a short test recording. Listen at an ordinary playback level, including a few seconds when you are not speaking. That pause reveals computer fans, desk vibration and room reflections that are easy to overlook while talking.
The support changes the desk
A small stand is simple to place but can transmit bumps from typing or moving objects. An arm can free surface space and bring the microphone closer, yet needs a compatible mounting point, enough swing clearance and a cable route. A heavy microphone must be within the arm's supported load range. Do not attach it to a flimsy edge simply because the clamp closes.
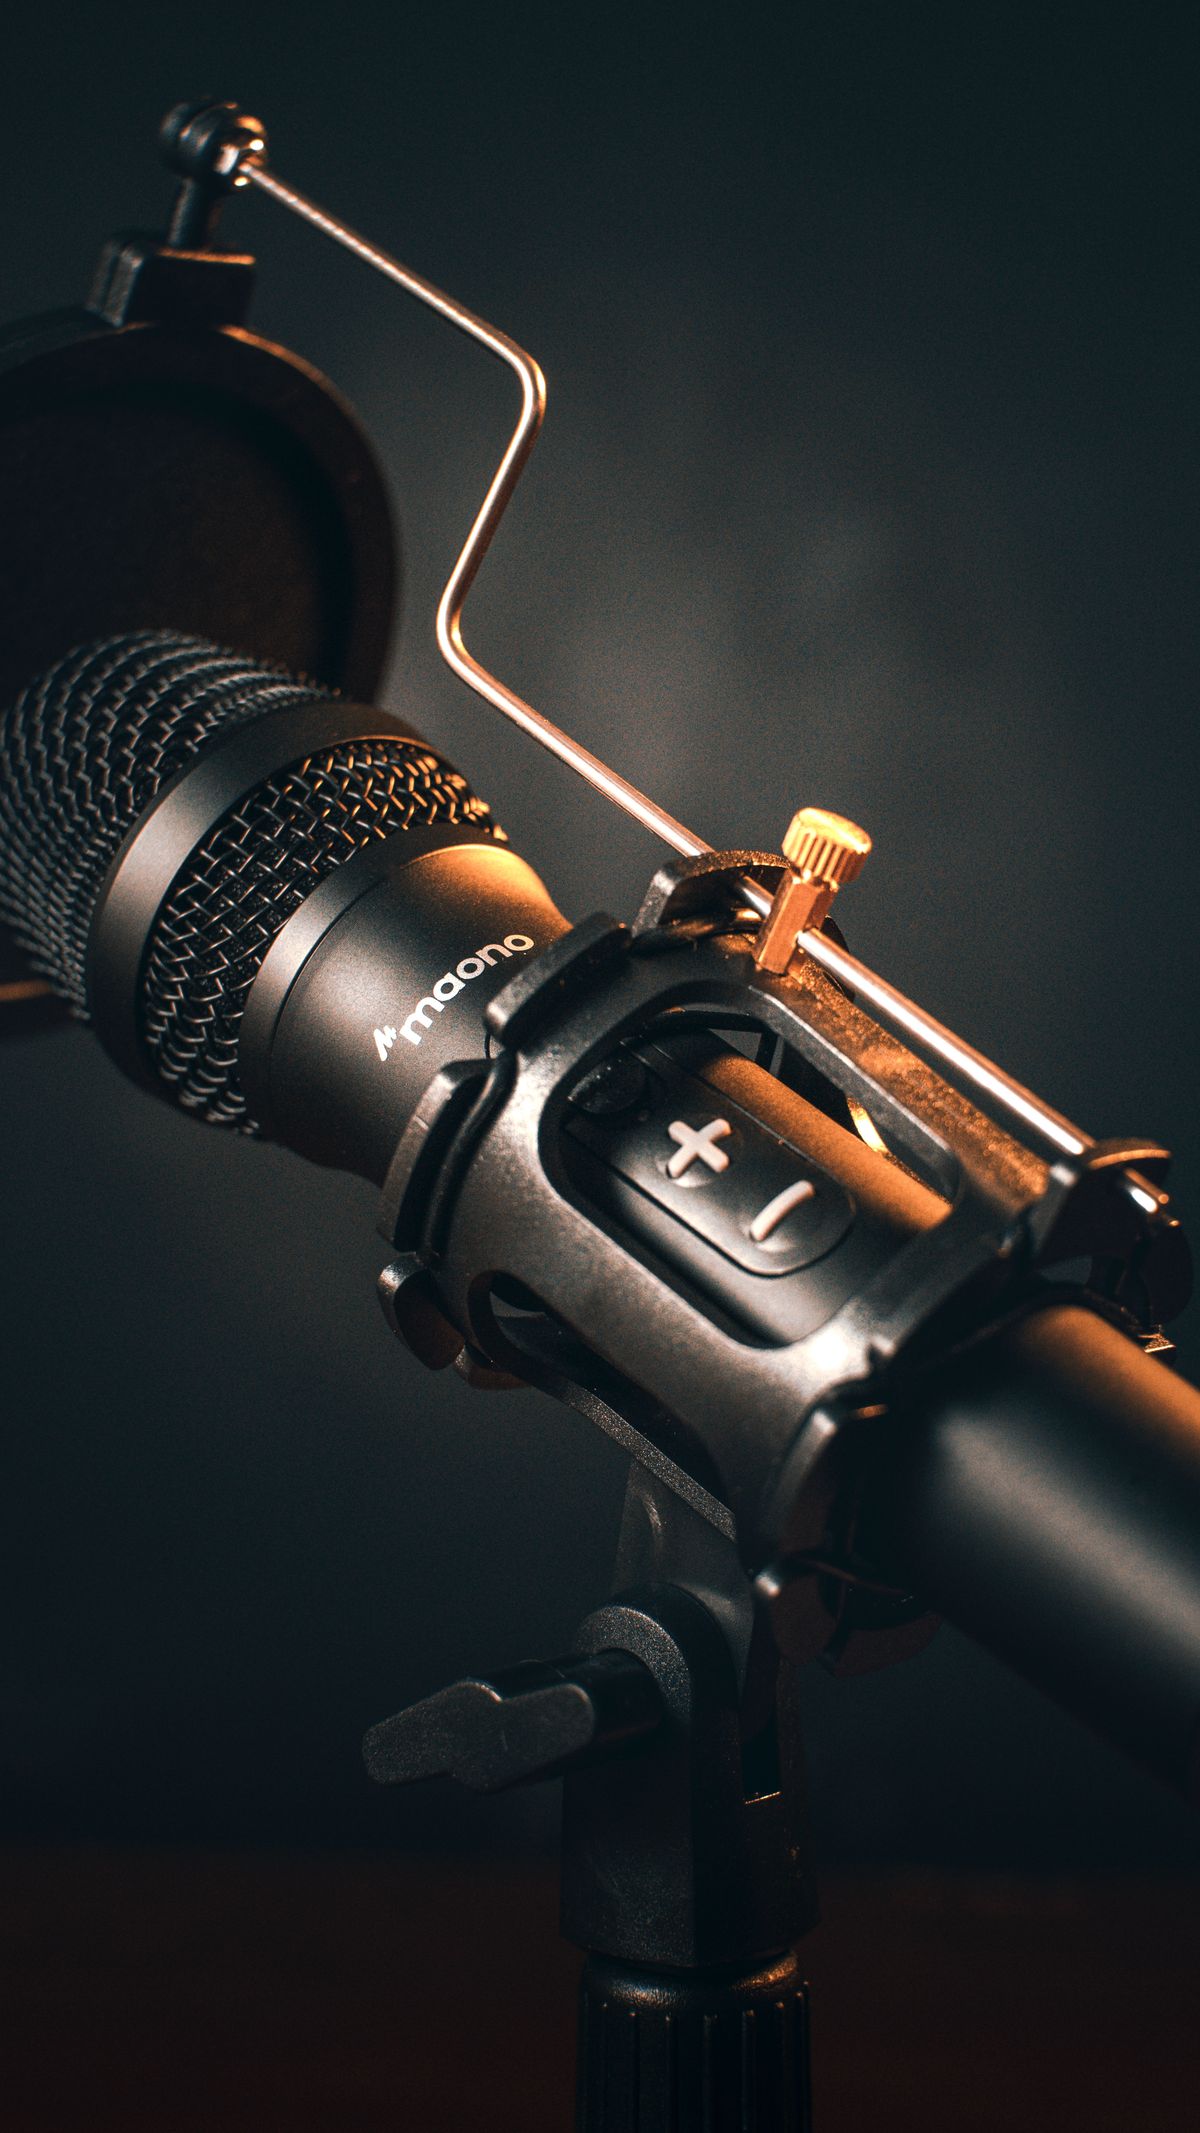
A shock mount can reduce some mechanically transmitted vibration; it does not remove all keyboard noise or fix a reverberant room. Likewise, a pop filter addresses bursts of air rather than general background sound. Choose an accessory for the problem it is designed to solve.
Connection and everyday controls
A USB microphone can connect directly to a compatible computer. An XLR microphone generally needs a suitable audio interface and possibly additional power, depending on the model. That is a different equipment arrangement, not merely a different cable. Check driver requirements and any workplace restrictions before choosing it.
Make sure the meeting application selects the intended microphone after connecting it. Keep a clear mute control within reach, and check what its indicator means. If speakers cause echo or feedback, a suitable headset or headphones may be the simpler listening arrangement.
A separate microphone earns its place when it can stay in a useful position without dominating the desk. If the only available spot is too far away, a headset microphone may solve the same communication problem with fewer adjustments.